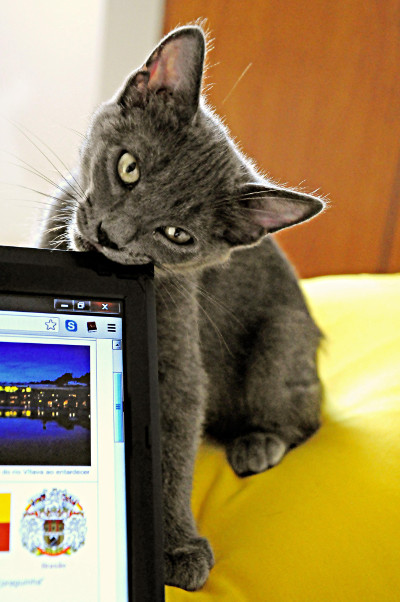
Two more new features to report.
First, you can now add a caption to your images. When you insert an image, as always, you’re prompted with a dialog where you can enter a title, and where you can enter a description. At the end of last week, we started automatically converting whatever you put in as the title of your image to be a caption, appearing in boldface just below the image.
It’s important that these two fields – title and description – are used correctly. When implementing this feature, we found close to two hundred images where they were exactly the same text. Imagine a screen reader comes across this picture:

Since both the alt text and the caption are the same, and it wants to make sure to read all the text to you, it’ll actually read the exact same thing to you twice! And don’t get me started with the people that used the file name (“cat123.jpg”) as the alt text, or even worse, the word “picture” as the alt text.
So what to do?
In a conversational blog post like this one, it’d be perfectly fair to make the alt text descriptive (“A cat, chewing on a monitor”), and to use an amusing title/caption (“Delicious!”). But if you have a more serious picture, say a picture of some people, you’re actually allowed to explicitly set the alt text to empty, since the description now lives on as a caption. That way the screen reader knows to skip the alt text and just read the text (caption) surrounding the picture. So if you have a picture of two people, Alice and Bob, you could make the alt text be “” (that’s literally what’s called an ’empty string’, meaning there’s nothing inside the quotes, but the quotes are present), and the title be “Pictured, left to right, Alice and Bob.”.
The second feature we’ve implemented is FAQ questions. If your department has, or would like a FAQ page, contact us for a quick crash course in how to use the FAQ module.
